
Hiya!
I had an email from a lovely lady called Joy who saw a post I did a while back using a Docrafts Woodland Folk waterfall mechanism (see it here). As I said in the post, the instructions are pretty tricky to follow and Joy has asked me to show how I did it so I said I'd do a tutorial because photos are so much easier to follow than written instructions! In fact, after doing this I think a video would have been better but as I don't have that sort of technology at my disposal, a bezillion photos will have to do!
You have been warned! :-)
The pieces come in a die cut sheet like this:

You need to start with this piece that I will call the waterfall card. It has three folds identified down the left hand side and then another for the fixing tab at the bottom.

Pop it out and fold across all four of these folds:

Fold it in half at the centre fold so that the patterned side is on the inside and turn it round so it looks like this:

Apply glue between the top two folds (I'm using a glue runner but any glue will do)....

You can see where I've applied the glue better in this piccie:

Pop picture A from the sheet and stick it in place, aligning the top of the picture with the centre fold in the waterfall card:

Now fold the waterfall card at the second crease like this:

... until picture A is face down:

Next pop out picture B, make sure it is the right way up....

Flip it over and lay it on top of picture A (which is now face down)....

Making sure the tops of the pictures are carefully aligned, use a pencil to mark where the waterfall card is folded in between.....

Do the same on the other side....

Use the markings to score a line across picture B:

Turn the picture over and fold it at the score line:

You're going to stick this picture to the back of the face down picture A:

Apply glue to the back of picture A....

and between the top two creases that are visible on the waterfall card:

Align the tops of the pictures and stick picture B in place:

Fold picture B in half so it looks like this:

Now we need to do the same for picture C... Pop it out and make sure it's the right way up.

Flip it over and align the top edge with the edge of (the face down) picture B....

Make pencil marks where the waterfall card is folded in between...

....and again on the other side.

Score between the marks....

....and fold the picture at the score line:

You're going to stick this to the back of picture B like you did before....
Apply glue to the back of picture B (ooops, piccie out of focus - sorry!)
Align the tops of the pictures and stick it down....

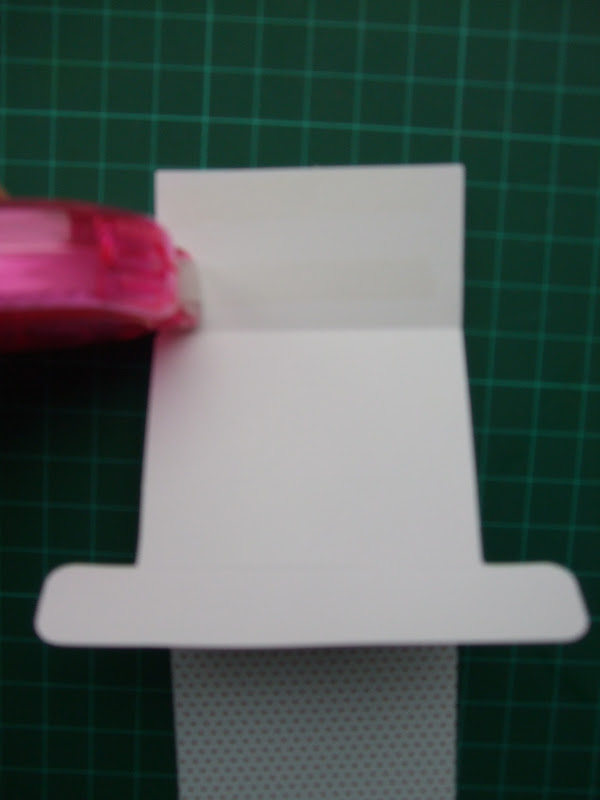
Glue the fixing tab in place by applying a line of glue just above the score line:

Fold fixing tab and stick down...

Now apply glue to the rest of the waterfall card and the middle section of the fixing tab:

Stick down the rest of picture C....
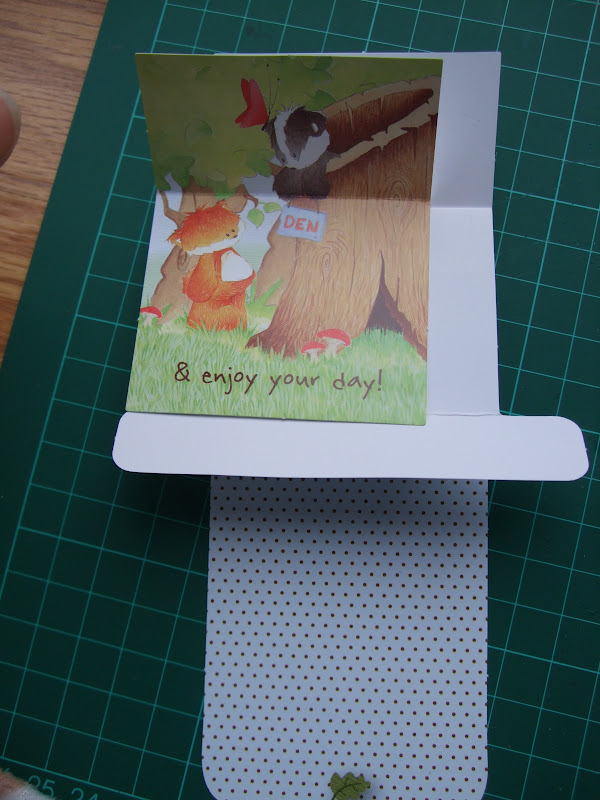
Now take the waterfall card and fold it across the middle at the centre fold so that all the piccies are visible. It should look like this:

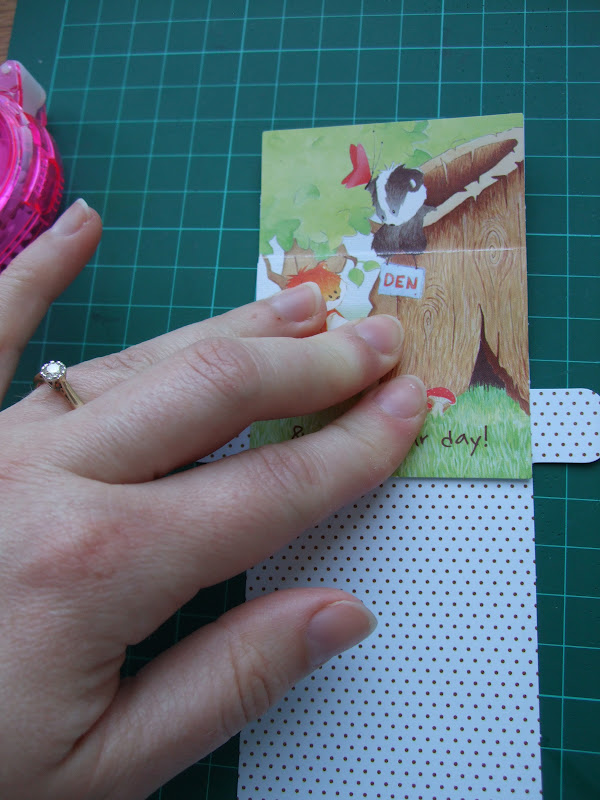
You can now fix the waterfall to your card base. The best way is to use brads to hold the sides of the fixing tab in place (don't add glue to the back otherwise the mechanism won't be able to move). The brads are replaced in this picture by my children's fingers on either side :-)
Pull the middle tab (the acorn) downwards to work the mechanism:

Picture B becomes visible....

....and then....

....picture C....

Ta da! Sorry if this has been a bit a lot long winded with a million steps and pictures but I didn't design the thing! :-) Hopefully it all makes sense. If you want anything explaining please let me know.
Joy, please send me a piccie of your finished waterfall cos I'd love to see it :-)
Now go and enjoy a well-deserved cuppa after surviving the longest tutorial the world has ever known!
Love 'n' hugs,


6 comments:
Thank you, this is a terrific tutorial! Hope you're having a good weekend!
love Mags B x
What a cute card...TFS on the tutorial... love those images on the card....
Wow, that must have taken ages - well done - fab tut.
Liz x
Wow, fab! Must have taken you ages to do. Great clear tut thanks xx Jenny xx
This is just a perfect wee tutorial honey!
Your so clever and just the teacher in you that makes even the "me"s out there follow it lol!
Brill sweetie
Hugs Melly xxx
WOW this is fantastic I love the way you have photo's of each stage , will refer to this when I make one Thank you so much , Love the forest friends I have some of their stamps. Hugs Elaine
Post a Comment